Ledger.com/Start: The Ultimate Guide to Setting Up Your Ledger Wallet
In the ever-evolving world of cryptocurrency, securing your digital assets is a top priority. Ledger hardware wallets offer industry-leading security, ensuring that your crypto remains safe from cyber threats. If you’ve recently purchased a Ledger device, setting it up is simple with Ledger.com/start. This guide will walk you through the process step by step and highlight the advantages of using a Ledger wallet.
How to Set Up Your Ledger Wallet via Ledger.com/Start
- Unbox Your Ledger Device – Whether you have a Ledger Nano S Plus or a Ledger Nano X, ensure all accessories are included.
- Visit Ledger.com/start – Open your browser and navigate to the official Ledger website.
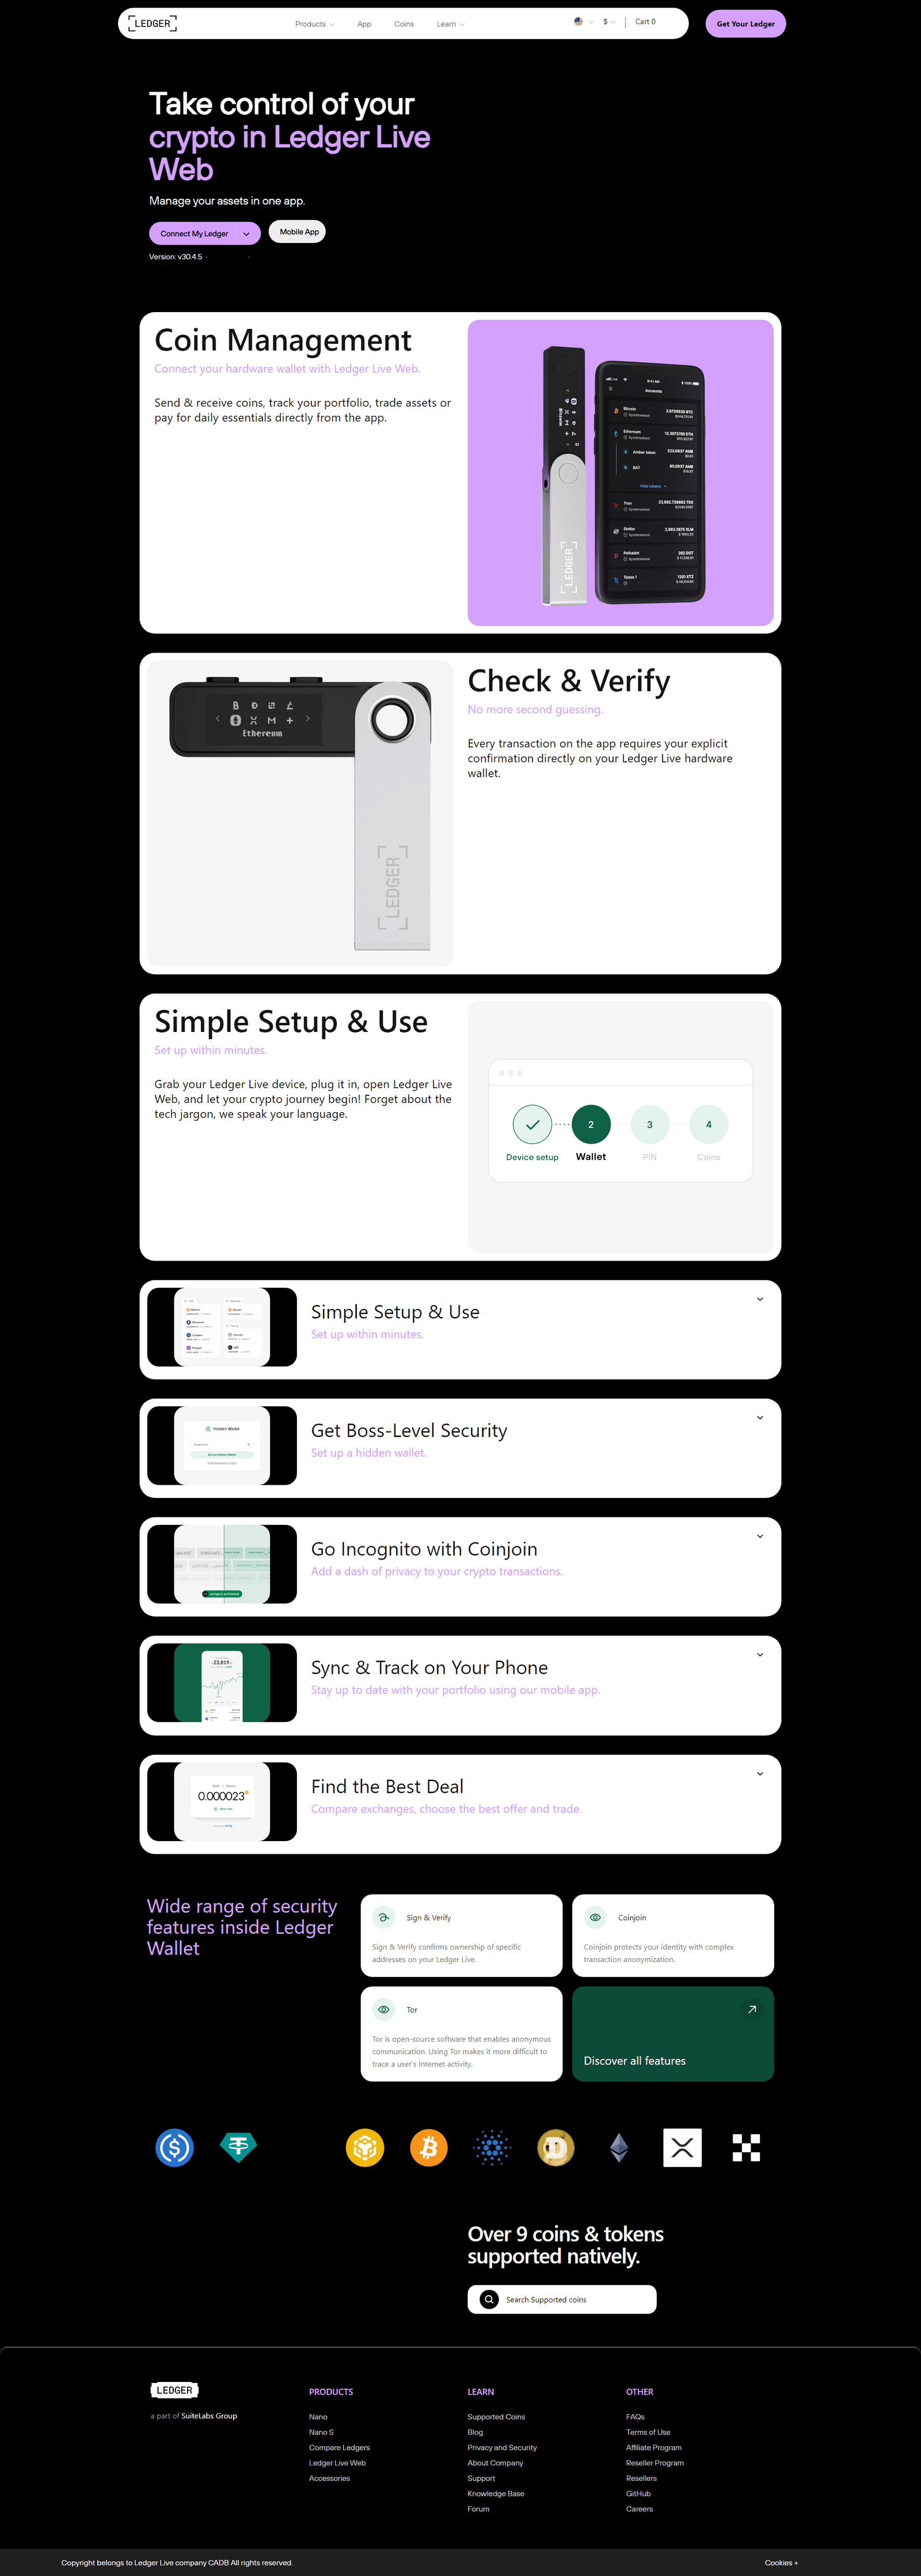
- Download Ledger Live – Ledger Live is the official software to manage your crypto assets.
- Initialize Your Device – Follow the on-screen instructions to set up a PIN and generate a recovery phrase. Keep this phrase secure.
- Install Apps & Add Accounts – Use Ledger Live to install apps for different cryptocurrencies and add your accounts.
- Start Managing Your Crypto – Send, receive, and monitor your assets with ease.
Advantages of Using a Ledger Wallet
- Top-Tier Security – Your private keys are stored offline, protecting your assets from hackers.
- Multi-Currency Support – Ledger wallets support thousands of cryptocurrencies.
- User-Friendly Interface – With Ledger Live, managing your assets is seamless.
- Backup & Recovery – The recovery phrase ensures you never lose access to your funds.
- Bluetooth Connectivity (Ledger Nano X) – Enjoy secure transactions on the go.
- Regular Updates – Firmware and software updates keep your wallet secure.
Securing your digital assets is crucial in the crypto space. By following the setup guide on Ledger.com/start, you ensure that your investments remain safe and accessible.